How Tenants Can Perfect Their End of Tenancy Cleaning
Posted on 19/06/2025
How Tenants Can Perfect Their End of Tenancy Cleaning
Leaving a rental property can be stressful, especially when it comes to the end of tenancy cleaning. For tenants aiming to secure their deposit return, perfecting their end of tenancy clean is crucial. This comprehensive guide explains, step by step, how to master your end of tenancy cleaning and impress both your landlord and letting agents.
Why Is End of Tenancy Cleaning Important?
End of tenancy cleaning plays a decisive role in the rental process. It's more than just tidying up; it's about returning the property back to its original state, barring normal wear and tear. Failing to achieve the required cleanliness standard could mean losing part or all of your deposit.
- Contractual obligation: Most tenancy agreements include clauses about cleaning.
- Deposit safety: Landlords can deduct cleaning costs from your deposit.
- Good references: Leaving the place immaculate increases your chances of a favorable reference.

Understanding Your Responsibilities
Tenants should review their tenancy agreement to identify precise cleaning requirements. Some landlords may provide a cleaning checklist. If not, making your own checklist (as outlined below) will ensure you cover all areas.
What Must Be Cleaned?
Everything that was present at the start of the tenancy must be cleaned. This includes, but isn't limited to:
- Floors and carpets
- Kitchen appliances
- Bathroom fixtures
- Windows, frames, and sills
- Walls, doors, and skirting boards
- Furniture (if furnished)
What 'Reasonable Cleanliness' Means
Landlords cannot expect perfection, but property cleanliness should match its state at move-in. Normal wear and tear is acceptable, but visible dirt, stains, limescale or grease usually are not.
Detailed End of Tenancy Cleaning Checklist
Mastering end of lease cleaning requires a systematic approach. Below is a room-by-room checklist to achieve a professionally clean standard.
1. General Areas (All Rooms)
- Remove cobwebs from ceilings and corners.
- Dust all surfaces, including shelves, picture frames, and skirting boards.
- Clean doors, door handles, light switches, and power sockets.
- Wipe down walls gently to remove scuffs and marks.
- Vacuum carpets and mop hard floors.
- Clean inside and outside of windows, window ledges, and sills.
- Polish mirrors and any glass surfaces.
- Empty all bins and remove leftover rubbish.
2. Kitchen
- Degrease and clean the oven (inside, racks, trays, and glass).
- Sanitise and polish hobs, extractor fans, and splashbacks.
- Wipe down all cupboards inside and out - don't forget handles!
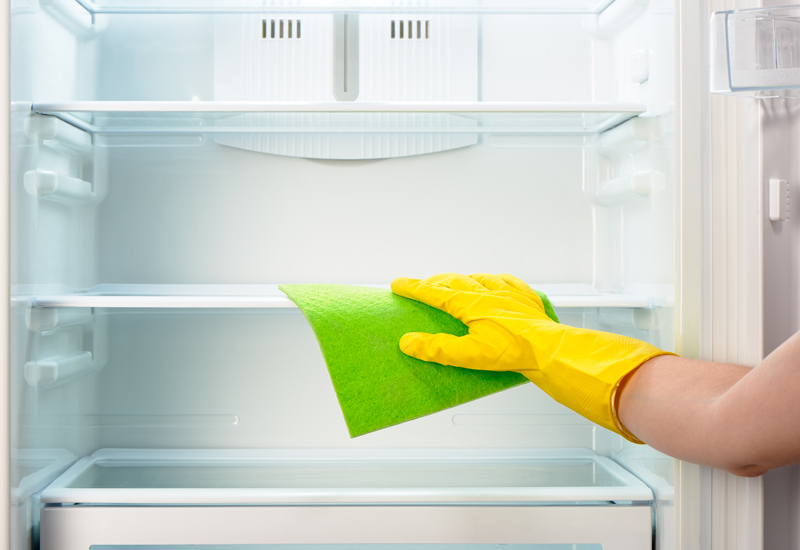
- Defrost and clean inside, outside, and under the fridge/freezer.
- Scrub sinks, taps, and remove limescale stains.
- Clean dishwasher & washing machine filters and seals.
- Remove crumbs and dust from drawers and shelves.
- Polish all chrome surfaces.
3. Bathrooms
- Disinfect and descale toilets, sinks, baths, and showers.
- Clean all tiles and grout; use anti-mould spray where necessary.
- Polish mirrors and glass shower screens.
- Wipe down bathroom cabinets inside and out.
- Empty and clean bins.
- Wash or replace shower curtains and bath mats.
- Polish taps and towel rails for a sparkling finish.
4. Bedrooms
- Dust all surfaces and furniture.
- Clean inside wardrobes, chests of drawers, and under the beds.
- Vacuum mattresses and consider using fabric freshener.
- Wipe down window sills and frames.
- Check for cobwebs in corners and around ceilings.
5. Living Room and Common Areas
- Dust all electronics gently and unplug if necessary.
- Polish surfaces (coffee tables, shelves, TV stands, etc).
- Vacuum upholstery (sofas, armchairs) and under/behind furniture.
- Straighten cushions and fluff any throws or pillows.
- Check for and remove any stains on carpets or upholstery.
Proven Tips to Perfect Your End of Tenancy Clean
Achieving a professional standard with your end of tenancy cleaning ensures a smooth move-out and secures your full deposit.
Start Early and Plan Ahead
Give yourself enough time--rushed cleaning leads to missed spots. Ideally, clean as you pack, tackling one room at a time.
Use the Right Tools and Products
- Microfiber cloths for streak-free cleaning and dusting.
- Descaling cleaners for bathrooms and kitchens.
- Oven cleaner for kitchen appliances.
- Carpet stain remover for spot treatment.
- Mop and bucket for hard floors.
Address Stubborn Stains
Don't ignore difficult stains. Use specialized cleaners for carpets, upholstery, and baked-on oven grime.
Don't Forget Fixtures and Fittings
Light fittings, switches, sockets, and air vents are commonly forgotten, yet they're checked during inspection. Give them a wipe down.
Check for Maintenance Issues
While cleaning, note any maintenance concerns--burned-out bulbs, leaky faucets, or broken fittings--and fix them if possible. Otherwise, notify your landlord.
Common Mistakes Tenants Make (and How to Avoid Them)
- Leaving appliances dirty: Clean inside dishwashers, washing machines, and ovens.
- Ignoring hidden spots: Remember under beds, behind furniture, and inside drawers.
- Neglecting limescale: Bathrooms and kitchens are especially prone, so use descaler products.
- Failing to remove rubbish: Take all waste--including items in bins and outside areas--with you.
- Not checking outside areas: Sweep balconies, patios, or gardens if included in your rental.
End of Tenancy Cleaning for Pet Owners
Pets bring love, but also odours and fur. If you've lived with animals, your end of tenancy clean requires extra steps:
- Vacuum all carpets and furniture thoroughly to remove hair.
- Use odour eliminators or an air purifier to remove pet smells.
- Treat any stains or accidents on floors and upholstery.
- Check outdoor areas for any waste or damage.
DIY Cleaning vs. Professional End of Tenancy Cleaning
Should You Hire a Professional Service?
While a thorough DIY job can suffice, there are clear advantages to using a professional end of tenancy cleaning company:
- Guarantee of quality: Most services offer a re-clean if your landlord isn't satisfied.
- Time-saving: Professional cleaners are efficient and detailed.
- Deep cleaning equipment: Professionals bring industrial-strength products, steam cleaners, and more.
*If your tenancy agreement requires professional cleaning (ask your landlord), save all receipts for evidence.*
Benefits of Doing It Yourself
- Cost: Cheaper, especially if you already have cleaning supplies.
- Control: You know where needs extra attention--be methodical.
- Satisfaction: There's satisfaction in a job well done.
What to Do After You've Finished Cleaning
- Take dated photos of all rooms after cleaning--these provide evidence should there be any disputes over your deposit.
- Walk through with your landlord or agent if possible, using the original inventory and your cleaning checklist as a reference.
- Return keys on time and provide a forwarding address for your deposit return.

Frequently Asked Questions About End of Tenancy Cleaning
How Long Does End of Tenancy Cleaning Take?
For an average 1- or 2-bedroom flat, allow at least 4-6 hours. Larger properties may require a full day or a professional team.
What If I Miss Something?
If your landlord isn't satisfied, they may hire a cleaner and deduct the cost from your deposit--or ask you to return and finish the job. Take your time to be thorough.
Do I Really Need Professional Cleaning?
Not unless your agreement specifies it. However, a professional end of lease cleaning service guarantees results, saving time and stress--particularly if your schedule is tight or standards are high.
Should Carpets or Curtains Be Steam Cleaned?
Many landlords expect carpets (and sometimes curtains) to be professionally cleaned, especially if pets have lived at the property. Check your tenancy contract for requirements.
Final Words: Secure Your Deposit with a Perfect End of Tenancy Clean
Perfecting your end of tenancy cleaning is essential for a hassle-free exit and to ensure your deposit is fully returned.
- Follow a detailed room-by-room cleaning checklist
- Use proper products, pay attention to easy-to-miss spots
- Consider professional cleaning for peace of mind
Whether you choose the DIY approach or hire experts, attention to detail is key. With careful planning and hard work, tenants can perfect their end of tenancy clean, secure their deposit, and leave a great impression for future rentals.
Remember: A pristine property is the best way to finish your tenancy on good terms. Happy moving!


